The Simple System That Makes Reselling Items Way Easier
When people declutter their homes, there’s often a small pile that gets special treatment.
Not donation.
Not trash.
The “I could definitely sell this” pile.
And sometimes… that pile sits around for months.
Not because you don’t want the money — but because reselling can feel like a lot of tiny tasks: photos, measurements, listings, shipping. It’s just enough friction that the pile quietly becomes its own category of clutter.
The trick I’ve found?
Turn the process into a simple assembly line.
Instead of thinking about selling items as one big project, break the process into stages and focus on moving items to the next step, not finishing everything all at once.
Here’s the simple system I use to actually get items listed and sold.
Step 1: Create a Resale Zone
First, designate one place in your home for resale items.
A shelf, a bin, a corner of a closet — somewhere that gathers everything in one place.
This does two important things:
→ You can actually see the scope of what you’re planning to sell.
→ It allows you to batch similar items together.
That second part matters because where you sell something often depends on what type of item it is.
For example:
Clothing, jewelry, accessories → Poshmark
Specialized items or components → eBay
Furniture → Facebook Marketplace
Art → Facebook Marketplace
Home décor → Facebook Marketplace
Grouping items by category makes the next steps much easier.
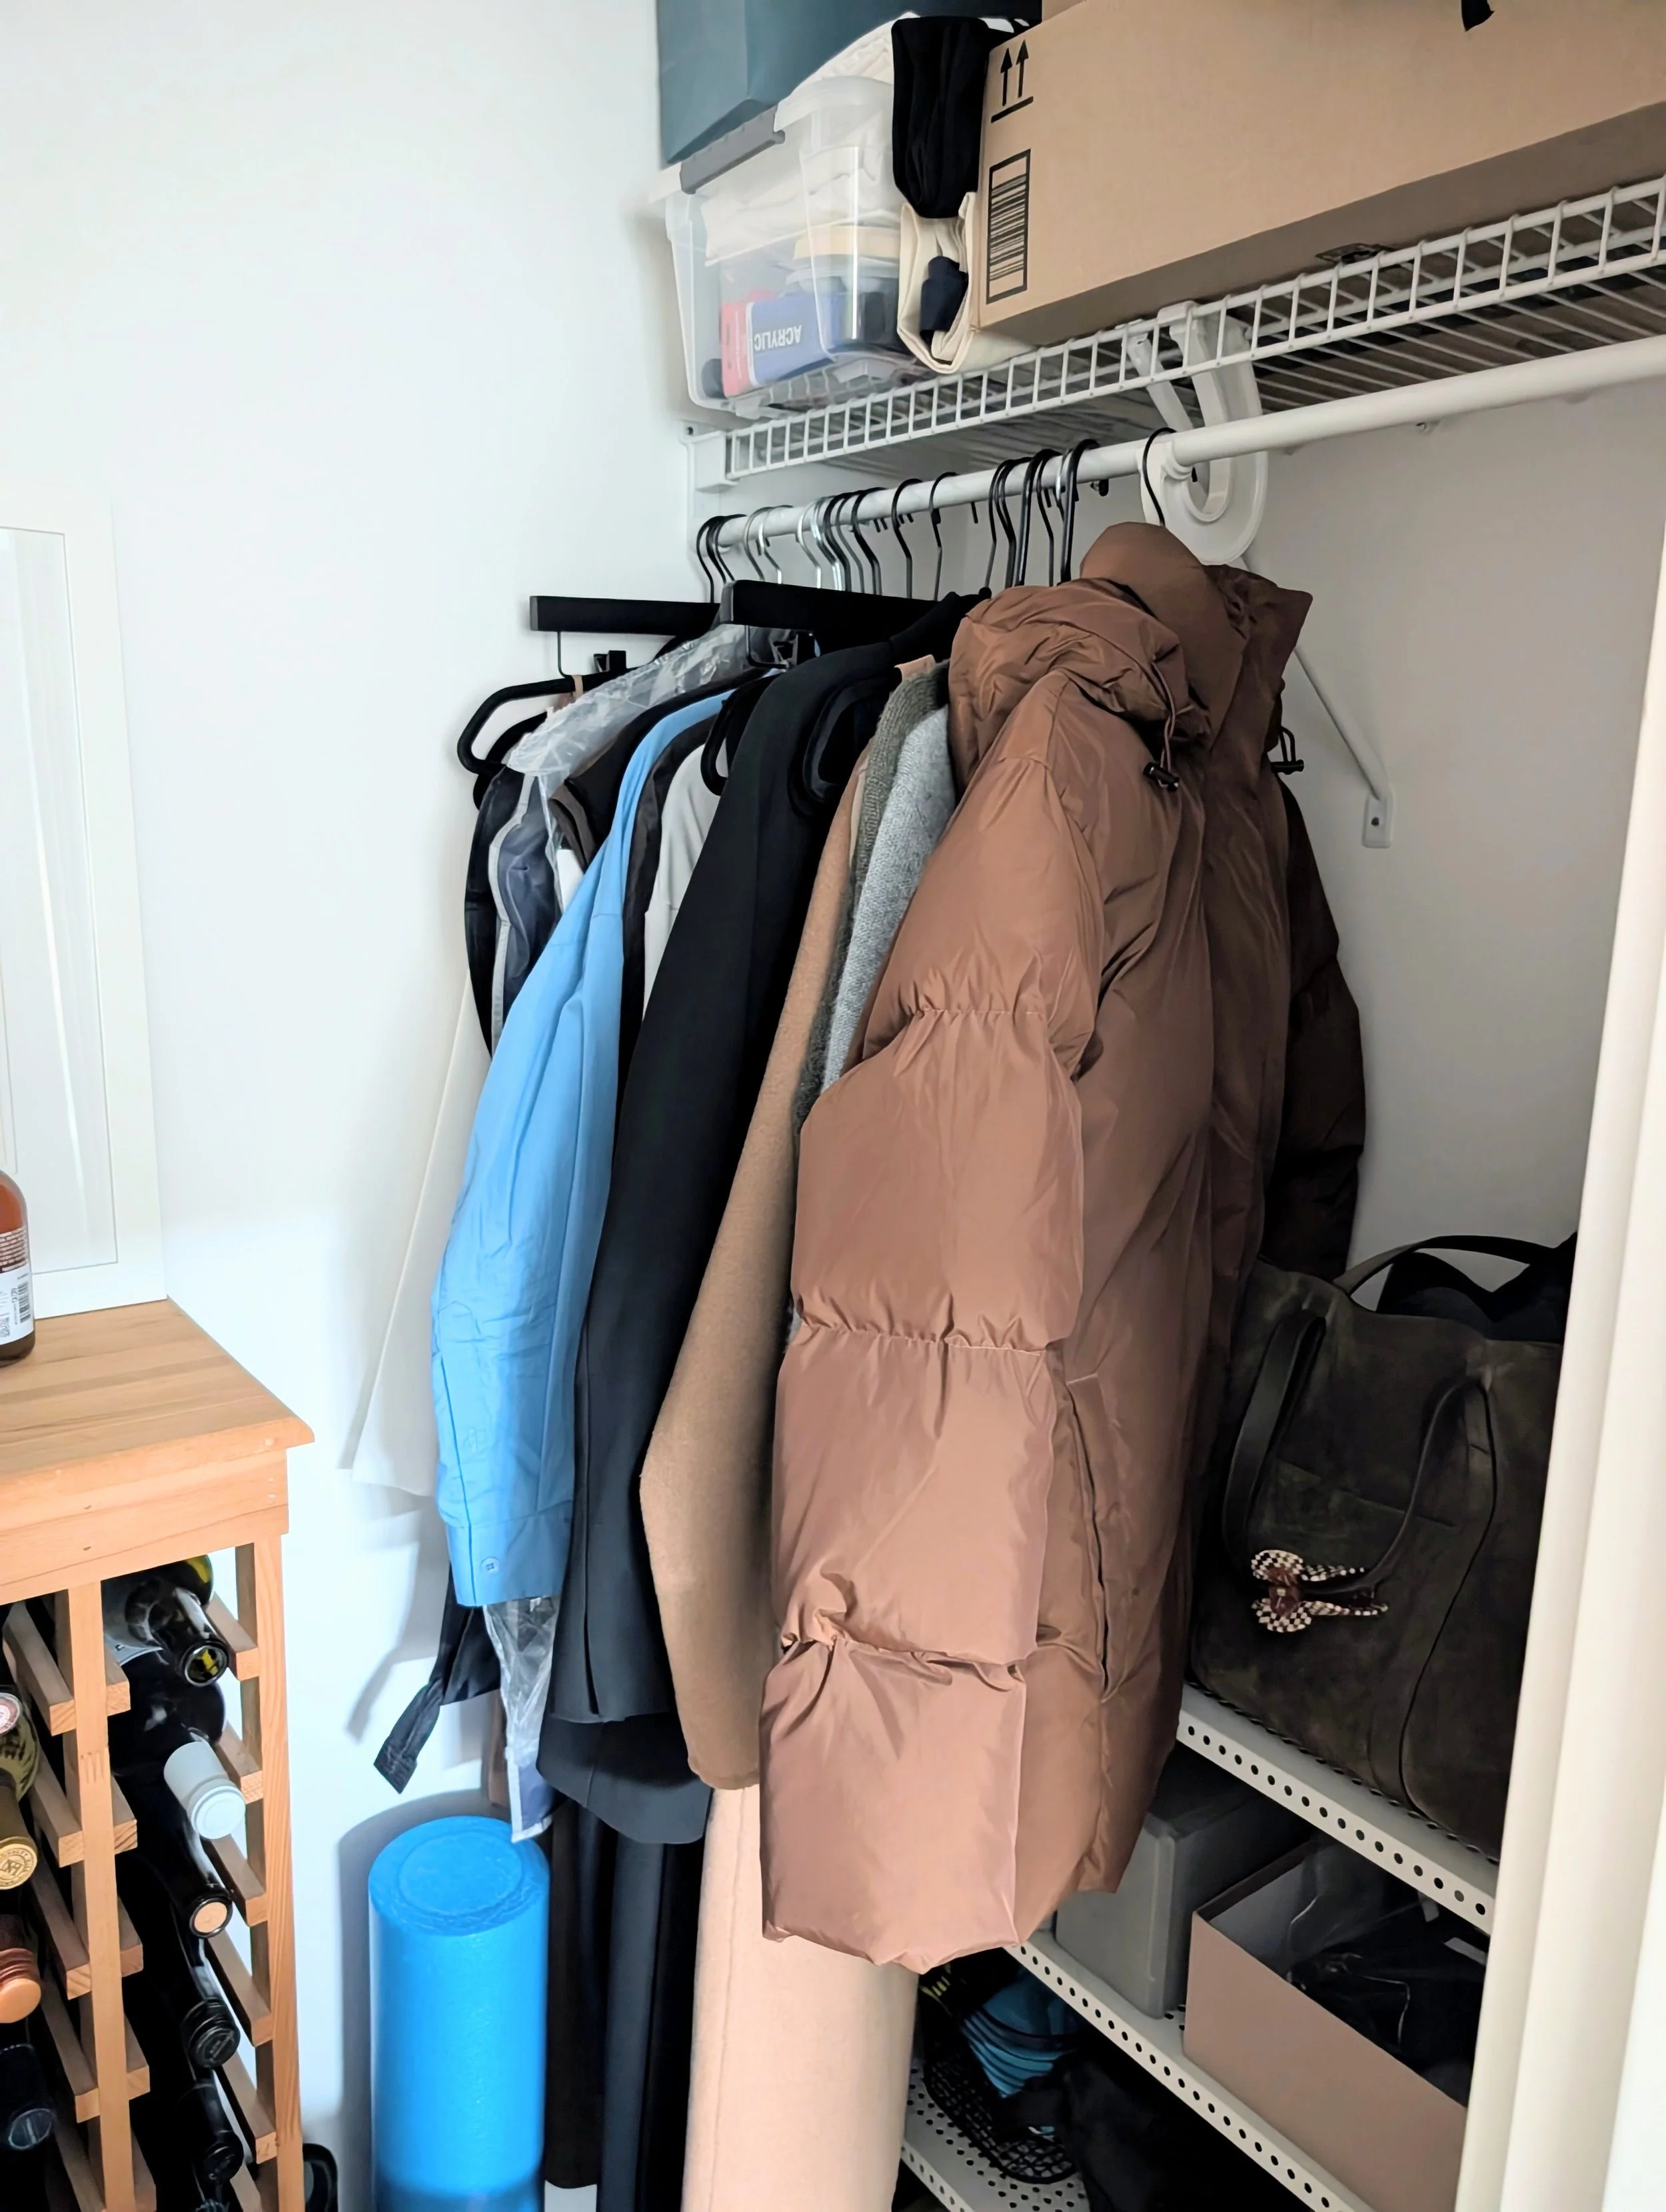
Here's my resale section in a corner of my office closet.
Step 2: Create a Simple Shipping Station
If you’re selling items online, it helps to keep basic shipping supplies together in one spot.
Think:
broken-down boxes
packing paper or padding
packing tape
a printer for labels
I often save good boxes and packing materials from shipments I receive. But I keep a space limit so I don’t end up storing every box that comes through the door.
For my clothing sales on Poshmark, I also keep:
tissue paper
twine
small paper scraps to write a short thank-you note
All of this lives in a Sterilite container that I also use for gift wrapping supplies, plus broken-down boxes stacked against a closet wall.
When something sells, everything I need is already there.
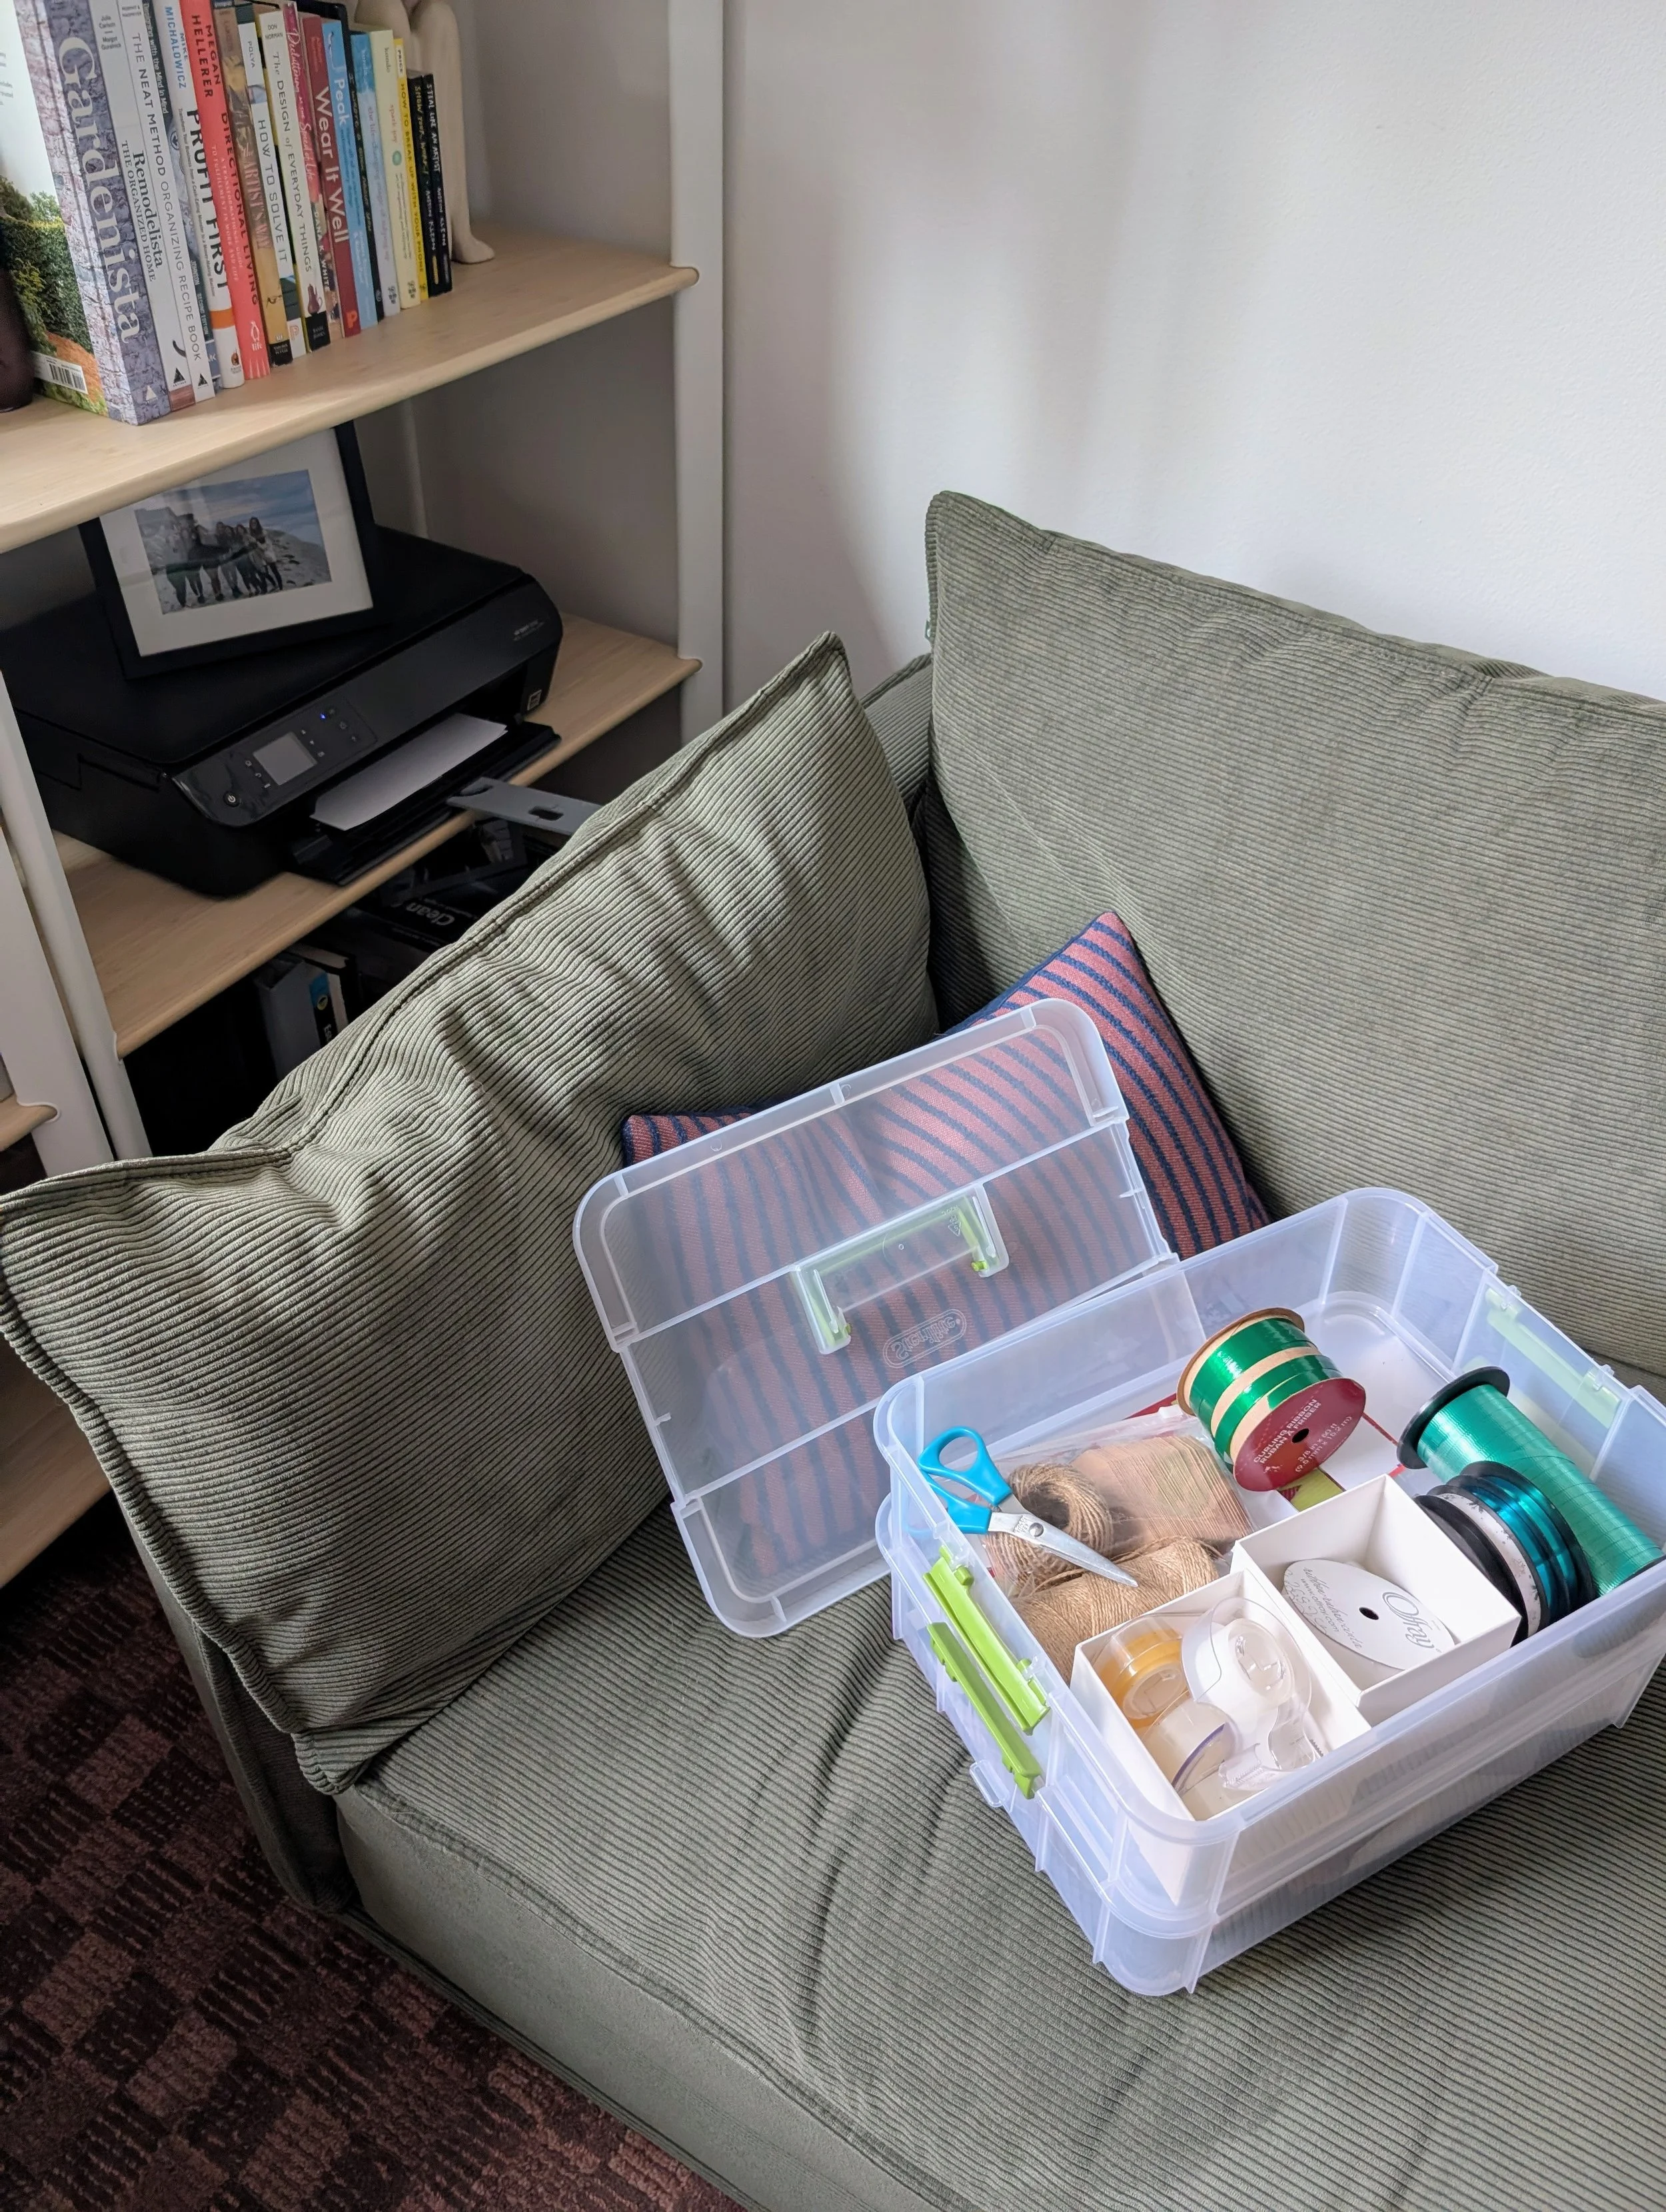
Doesn't have to take up space when not in use! I just bring out my supplies box and work near my office printer.
Step 3: Batch the Photo Stage
Next comes the step that slows most people down: taking photos.
Instead of photographing items one at a time, schedule a short block where that’s the only goal.
“Today I’m just photographing everything.”
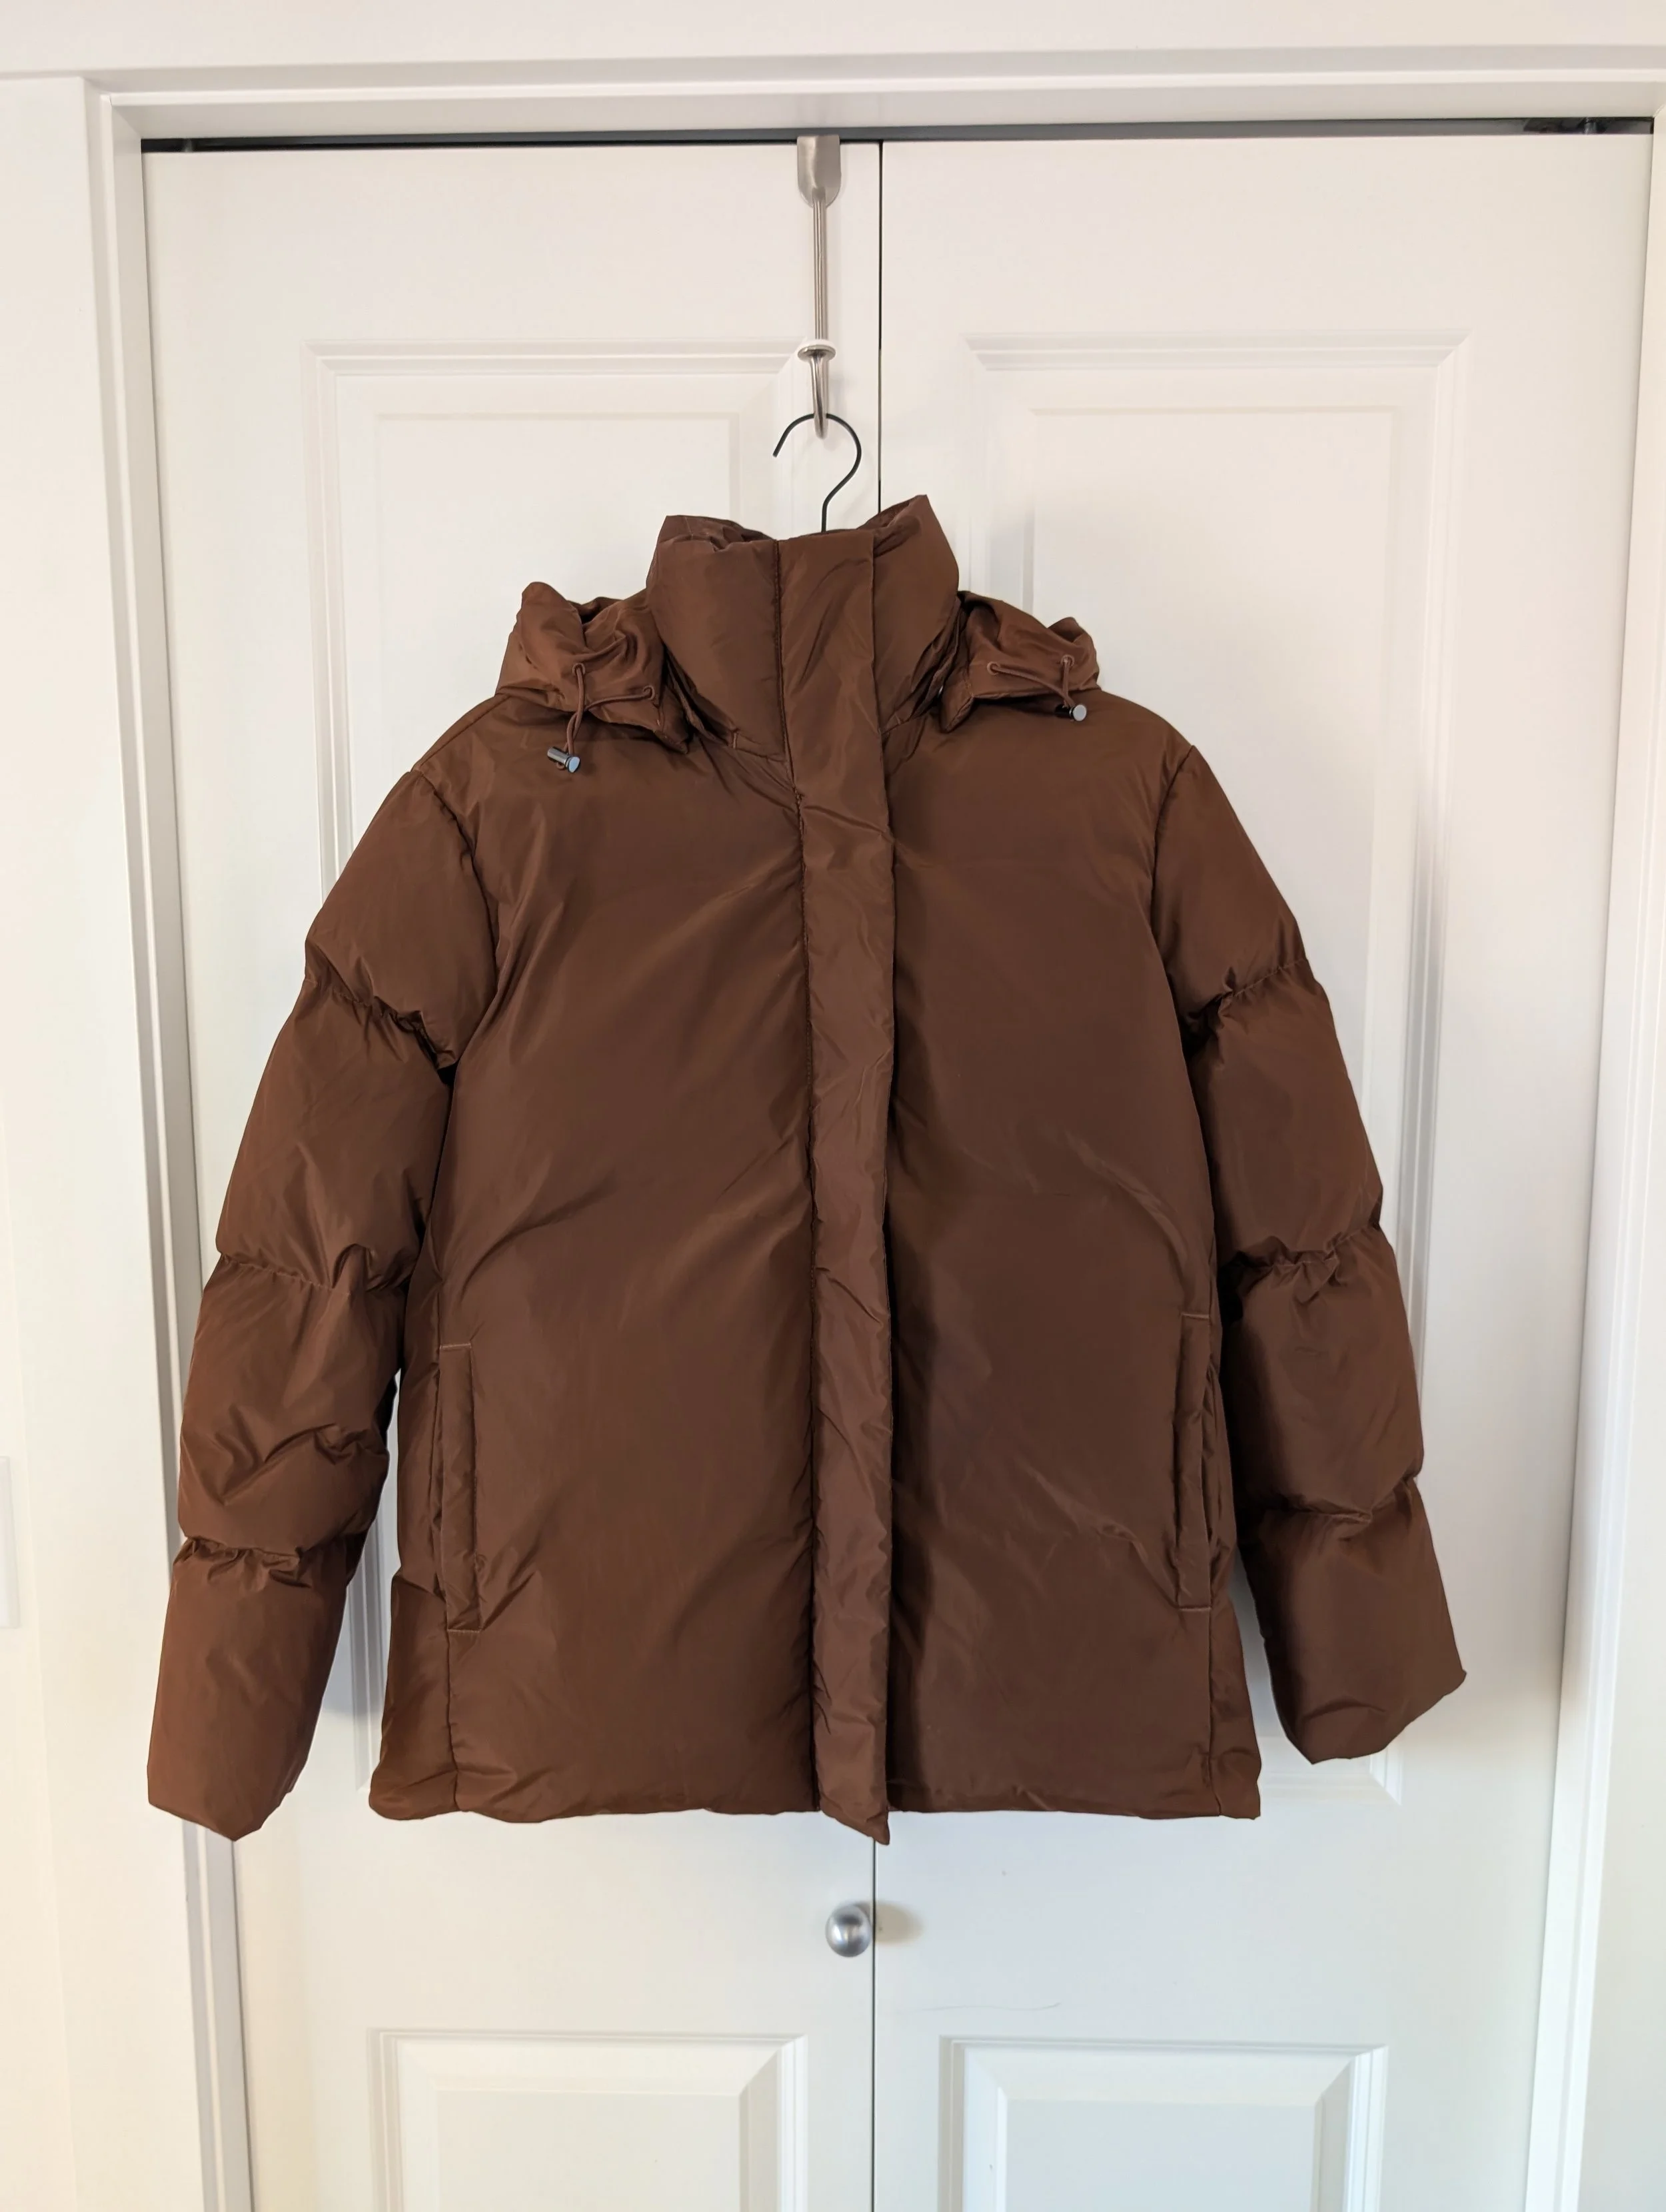
Find a well-lit area in your home — ideally with natural light — and take:
front and back photos
tag and brand photos
texture or detail shots
photos of any imperfections
Sometimes I’ll also take a short video to show how the fabric moves.
As you go, jot down a few notes in your phone:
brand
size
measurements
condition
You’ll use this information later when you build the listing.
Step 4: Batch the Listing Stage
Another day, move everything to the listing stage.
Now you already have:
the photos
the measurements
the basic details
So all you need to do is upload the images and write the listing.
This is also when you can:
link to the original product page (if it still exists)
describe the condition
set your price
Many resale apps will even auto-generate parts of the listing description.
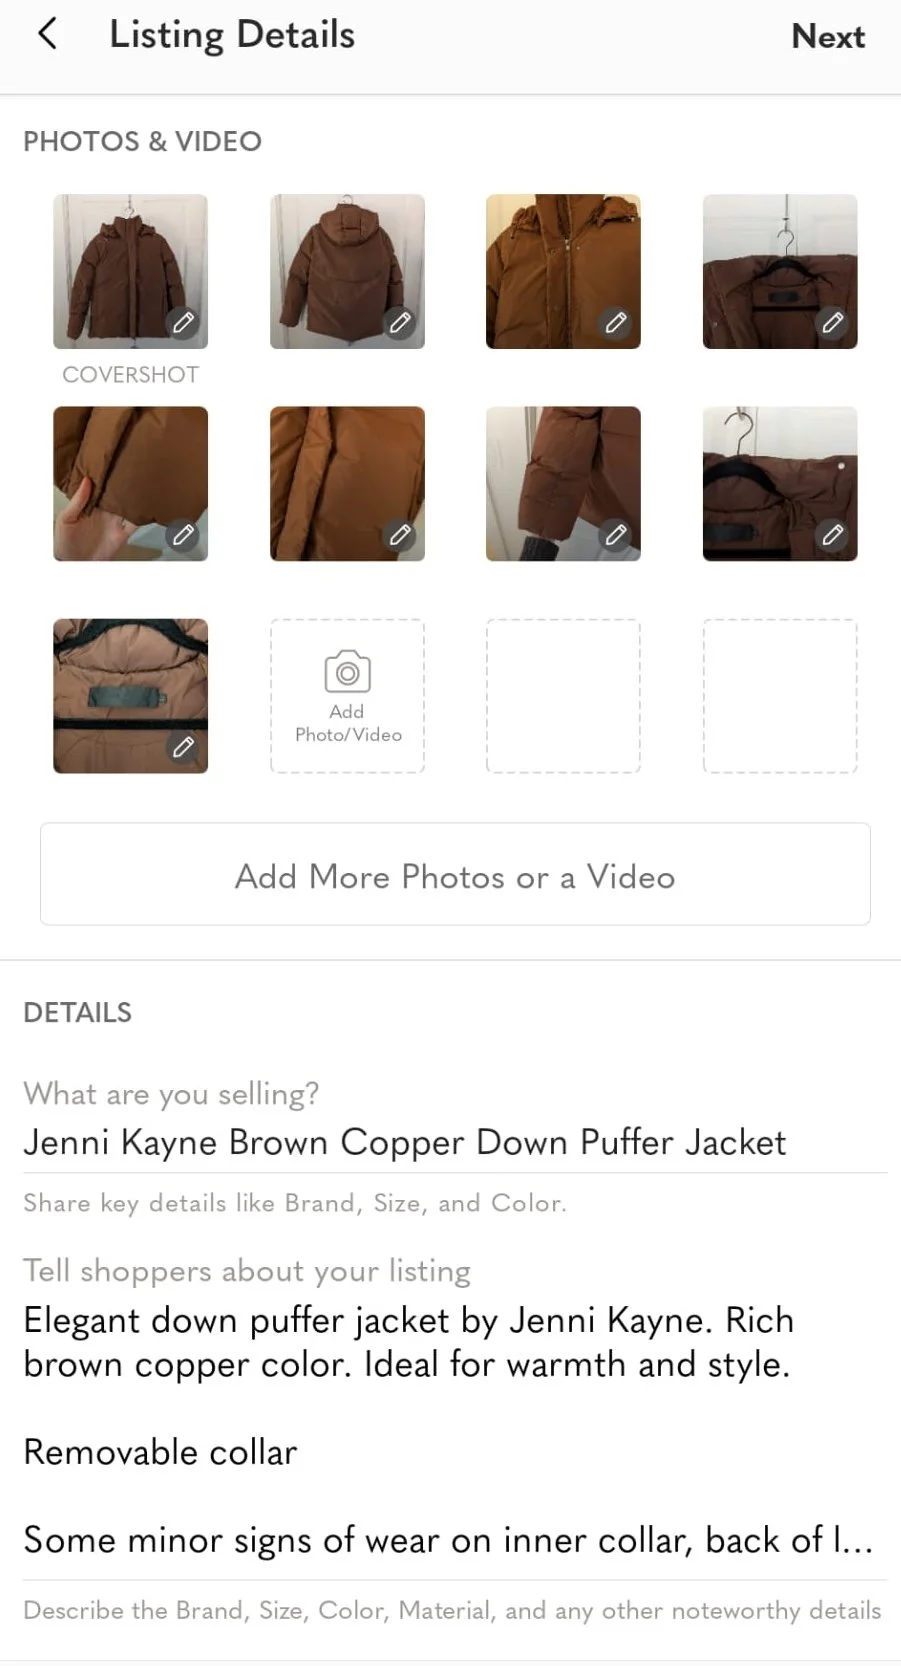
Some of this description was even auto-generated by the app. I just tweaked it to include condition info and other details.
Again, the goal isn’t to list everything perfectly in one sitting — just to move items forward in the assembly line.
Step 5: Fulfillment Becomes Easy
Once something sells, the process becomes very simple:
Go to your resale zone
Grab the item
Take it to your packing station
Package it and ship it
Because the earlier steps are done, fulfillment becomes quick and painless.
A Final Reality Check About Reselling
One more thing worth noticing during this process:
Does selling the item actually feel worth it to you?
A lot of resale piles start out large… and then shrink once you see how much effort each item requires.
Personally, I usually recommend reselling higher-value items where the margin justifies the time.
For lower-value items, consignment can be a great middle ground.
For example, Editor Consignment in Seattle pays about 40% of the sale price when they sell an item for you. That’s lower than the roughly 80% you keep selling on Poshmark, but they handle storefronting and selling the item.
Sometimes paying someone else to handle the work is the most organized choice.
Because the real goal of decluttering isn’t to create another pile of “projects.”
It’s to move things all the way out of your home — in whatever way feels most worth it to you.
Want Help Decluttering Your Home?
If you're feeling stuck in the decluttering process — or overwhelmed by piles of items that need to be donated, sold, or organized — I offer in-home organizing services in Seattle as well as virtual organizing support.
Together we can create systems that make it easier to clear space and keep your home working for real life.
Want more tips like this?
Sign up for my newsletter where I share real-life organizing projects, gentle mindset shifts, and tools I swear by.