How I Designed My Home Office (Before Buying a Thing!)
Part 2 of my series on transforming my former guestroom into an office space. Check out Part 1 here!
Thoughtful Office Design Starts Before the Shopping Cart
If you're staring at a room that needs to become something else — like a guest room that wants to grow up into a fully functioning home office — it can feel overwhelming to know where to start. But before you hit “Add to Cart” on that gorgeous desk or dreamy light fixture, let’s walk through the steps I took to design my own office with intention.
Spoiler: it started before buying anything. I’m sharing this process to help you skip the regret, save time and money, and create a space that actually supports your life (not just your Pinterest board).
Whether you’re local to Seattle or following along from afar, here’s how I approached my guest-room-to-office transformation as a professional organizer and KonMari Consultant.
Step 0: Sell the big stuff early.
Before I did anything else, I listed the large furniture from the guest room and old office for sale: the bed, rowing machine, sconces, rug (great under a bed, too small for an office), my old oversized desk, and even a double-wide monitor that no longer fit the plan.
Why? Because these items can take a while to sell — and once they’re gone, the room becomes a blank canvas. I could finally see the space, test layouts, and begin to envision what would work without tripping over what didn’t.
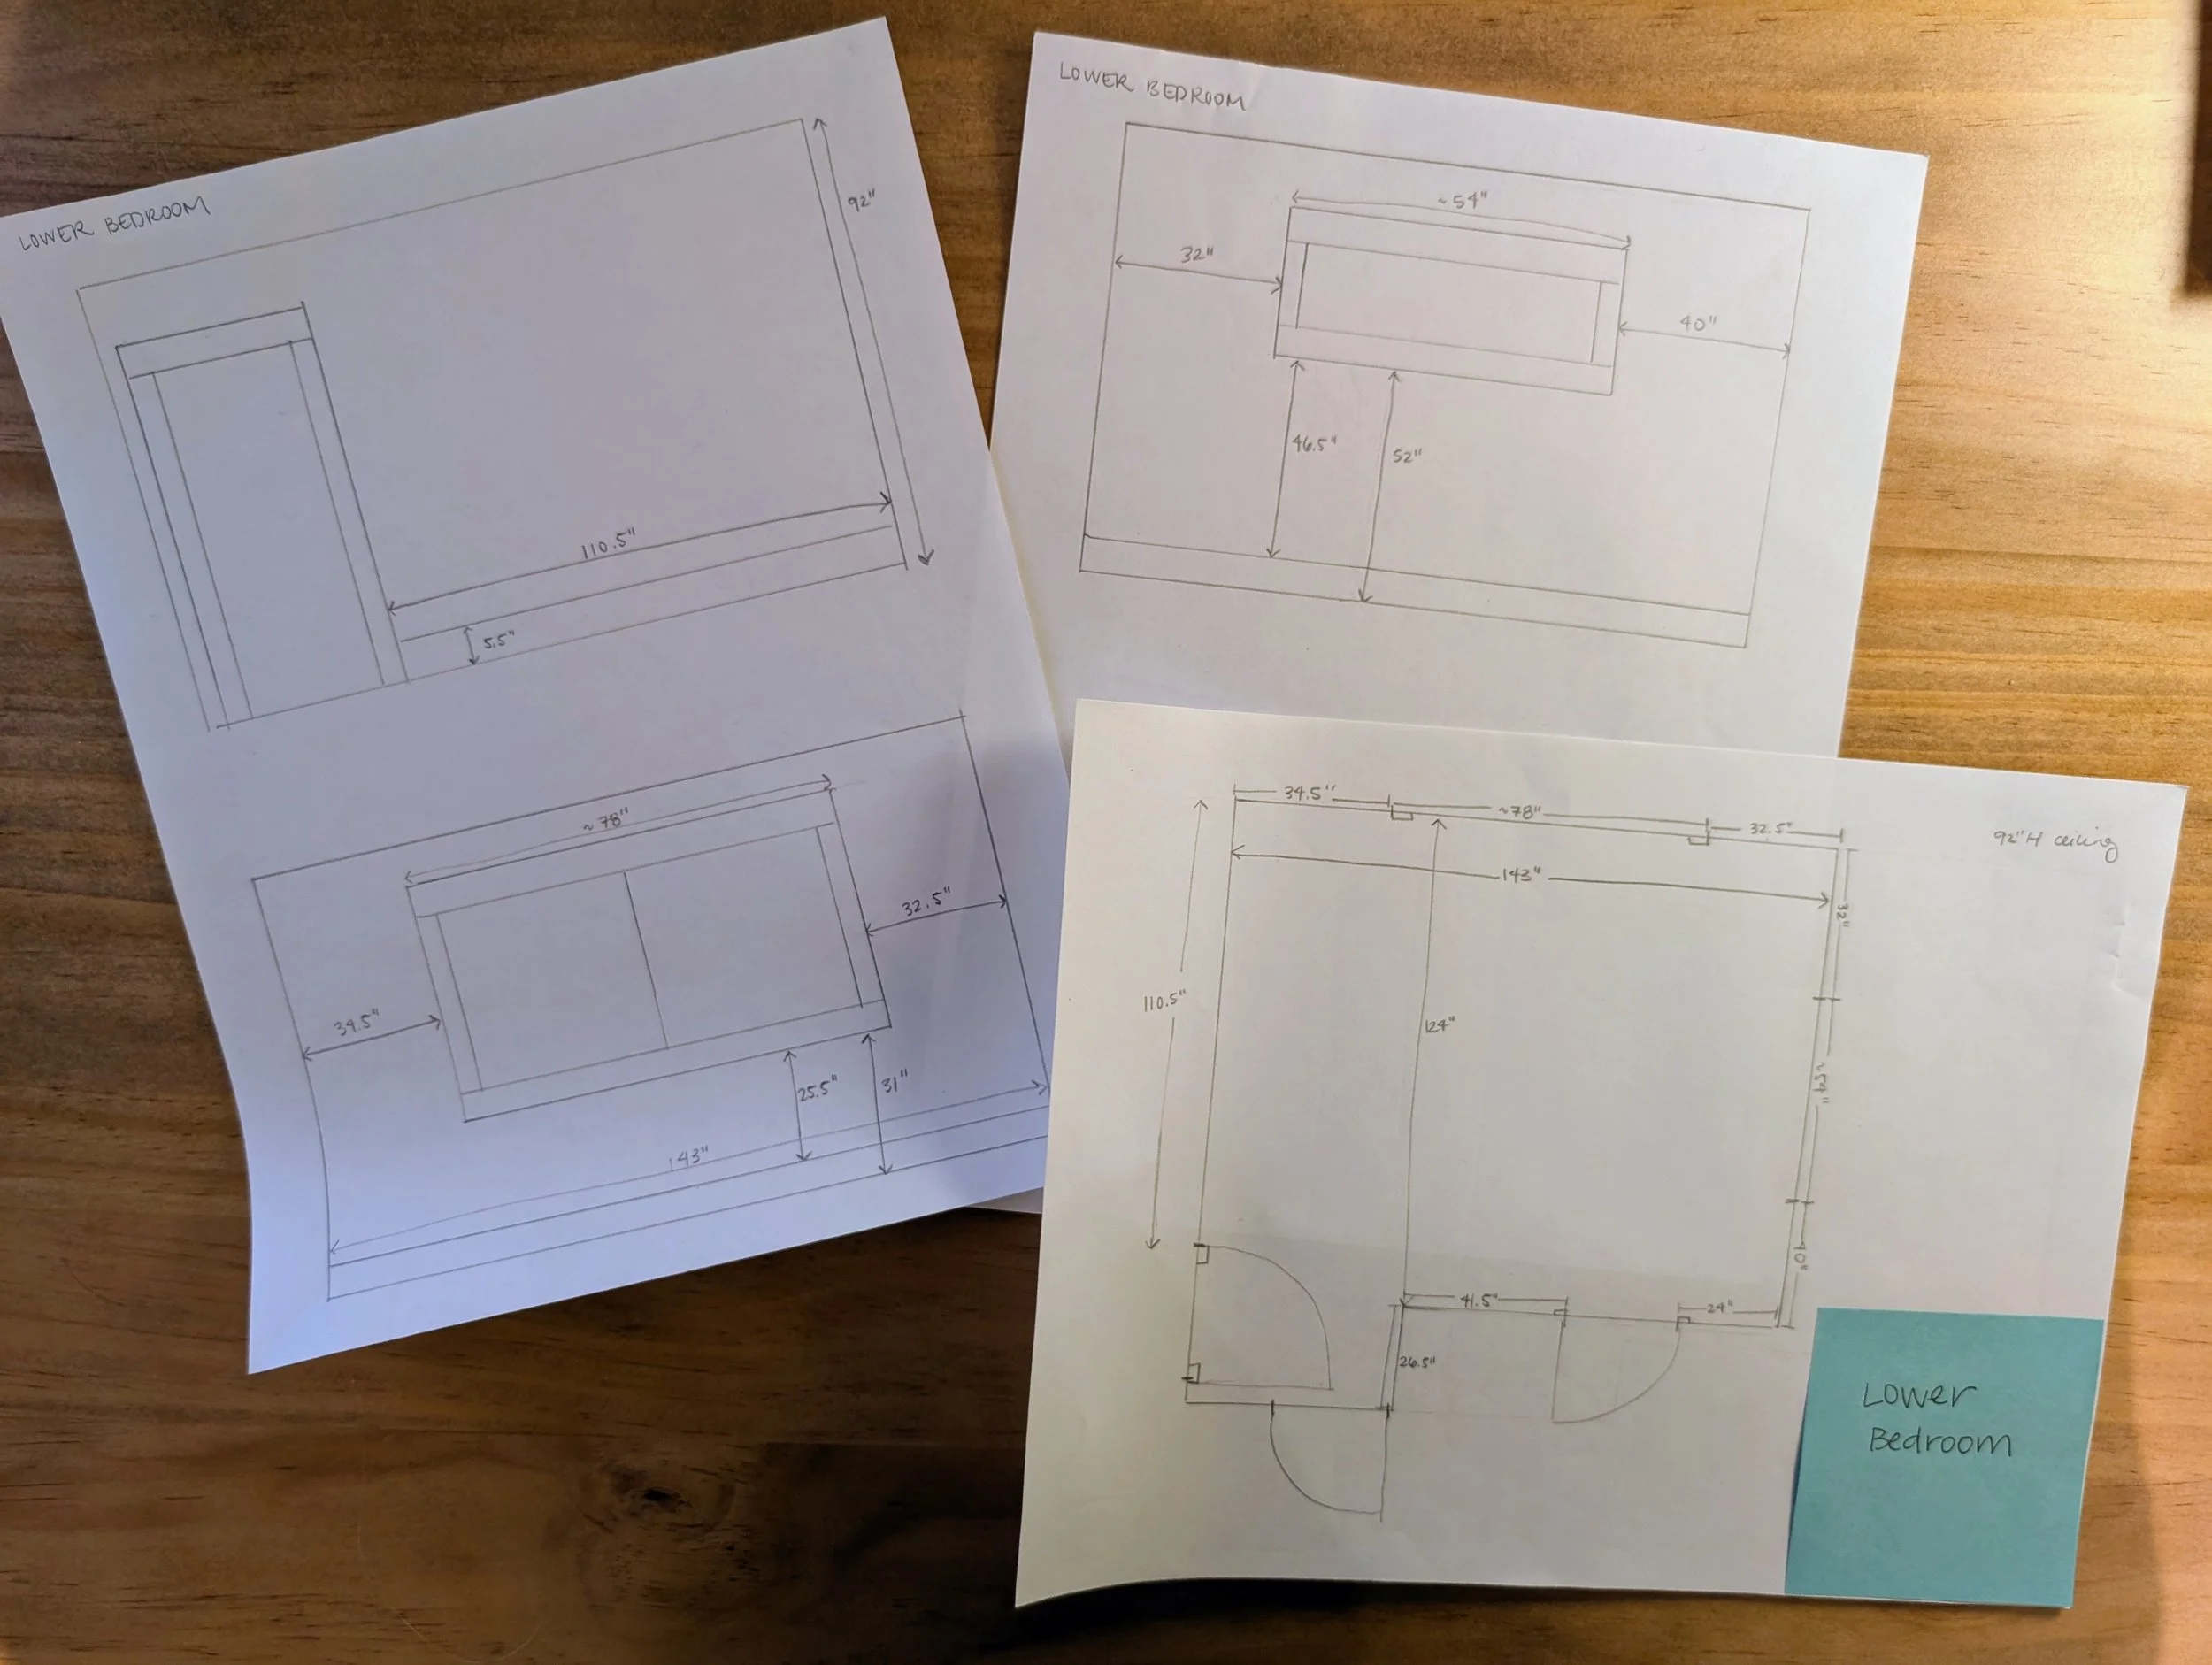
Step 1: Measure your space + sketch a rough floor plan.
Before sourcing a single product, I grabbed my measuring tape and got down to the details:
Height under and next to windows
Door and closet clearances
Ceiling height
Outlet placement
Then I sketched a rough floor plan — nothing fancy! Just something to ground me in reality and speed up product decisions later. I also like drawing a front-view of each wall so I can visualize vertical space too.
This simple step saves you so much decision fatigue when shopping online or in-store.
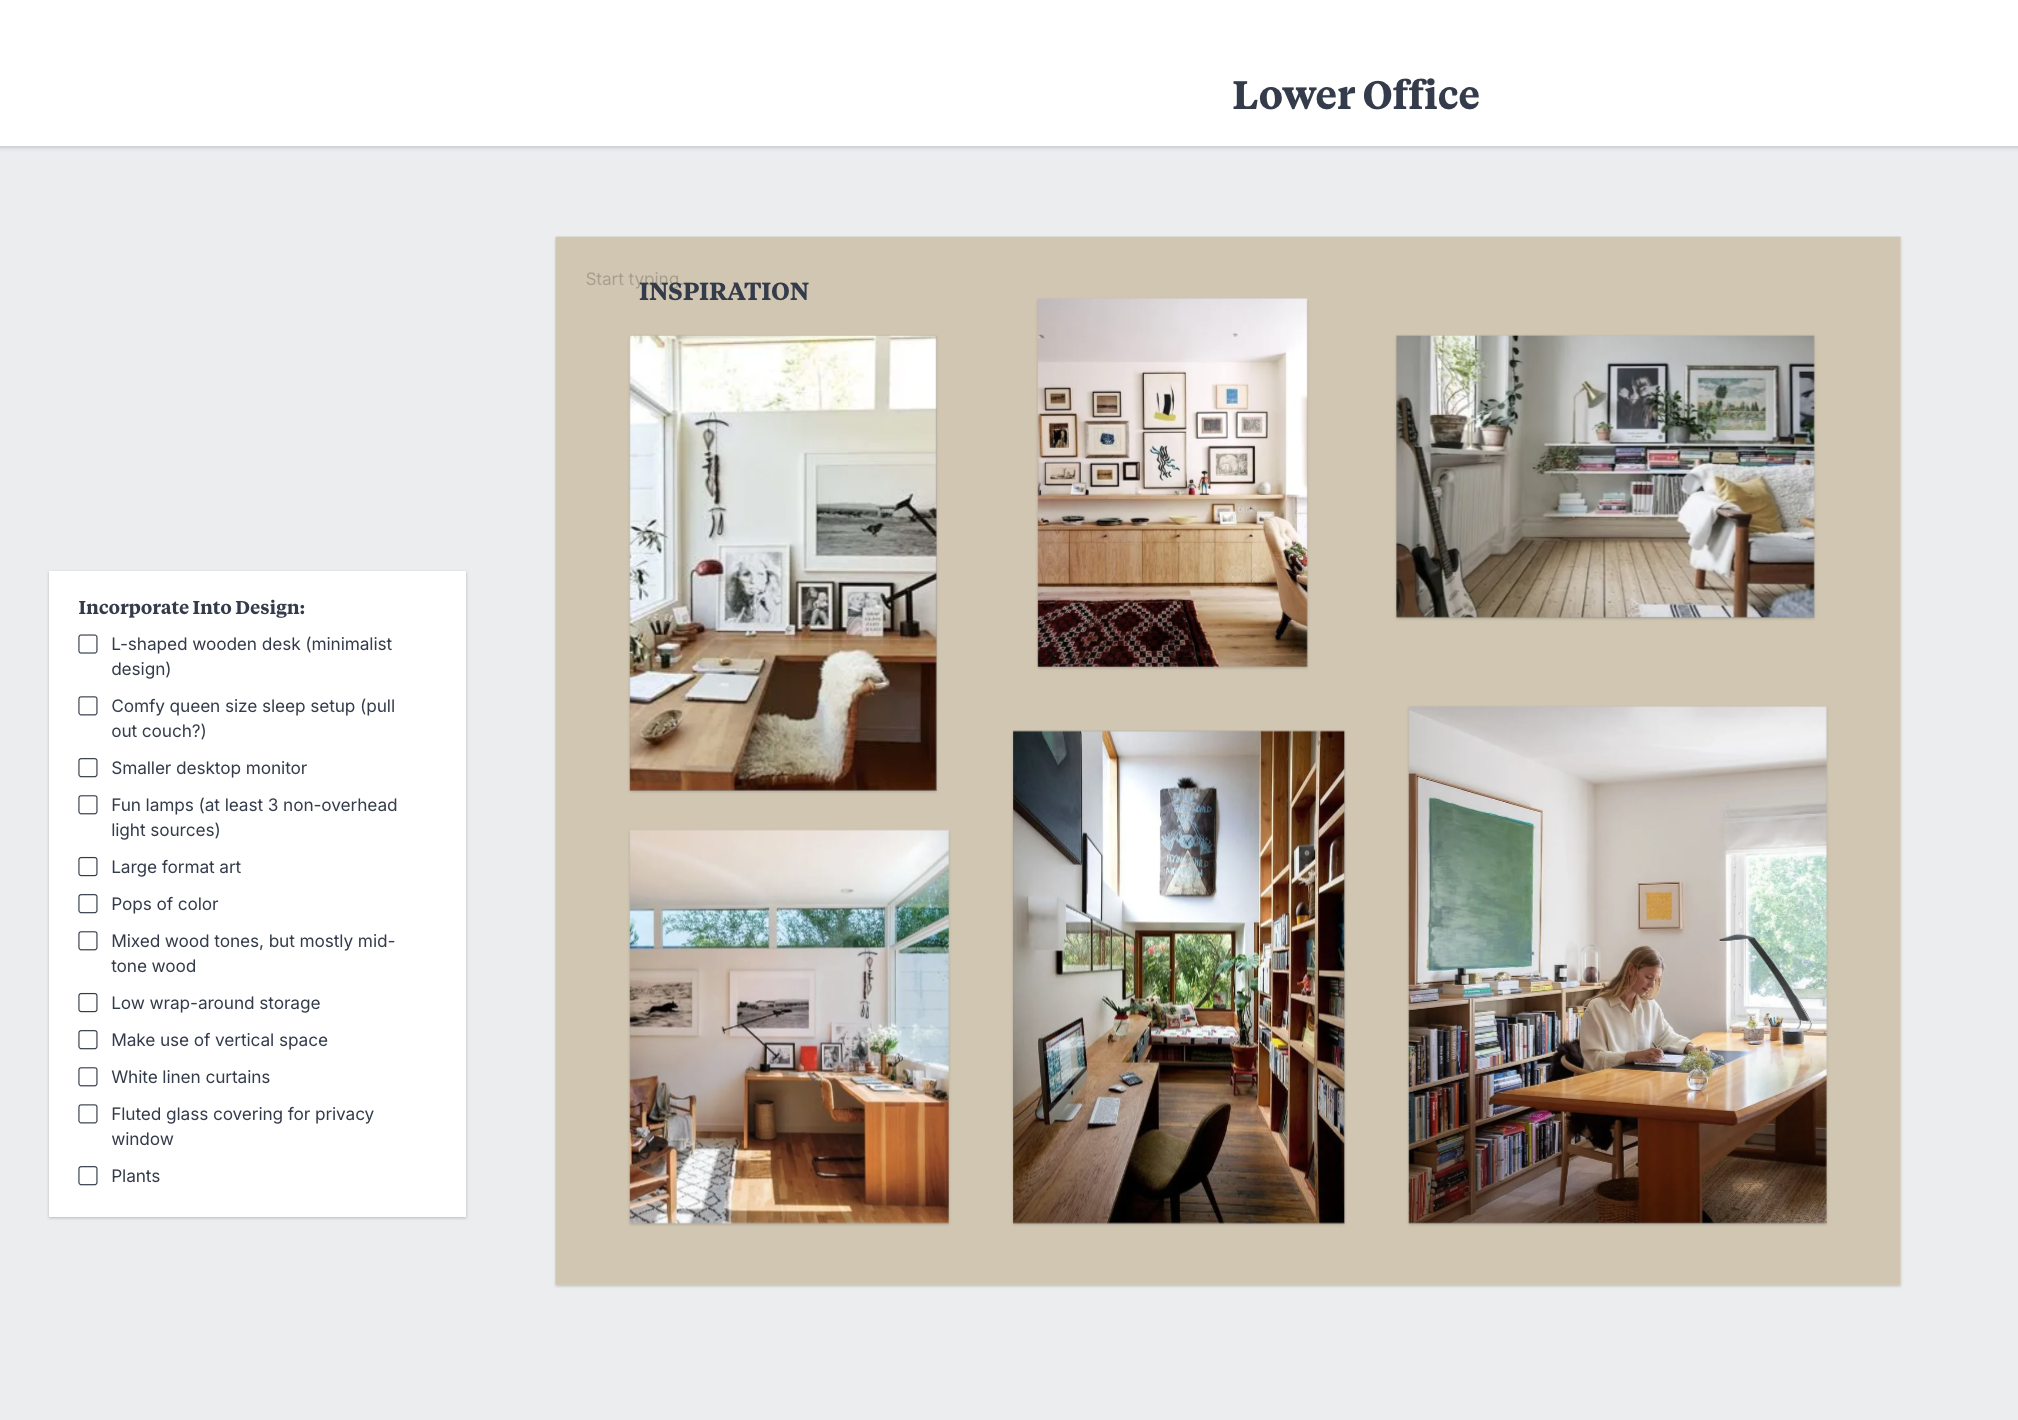
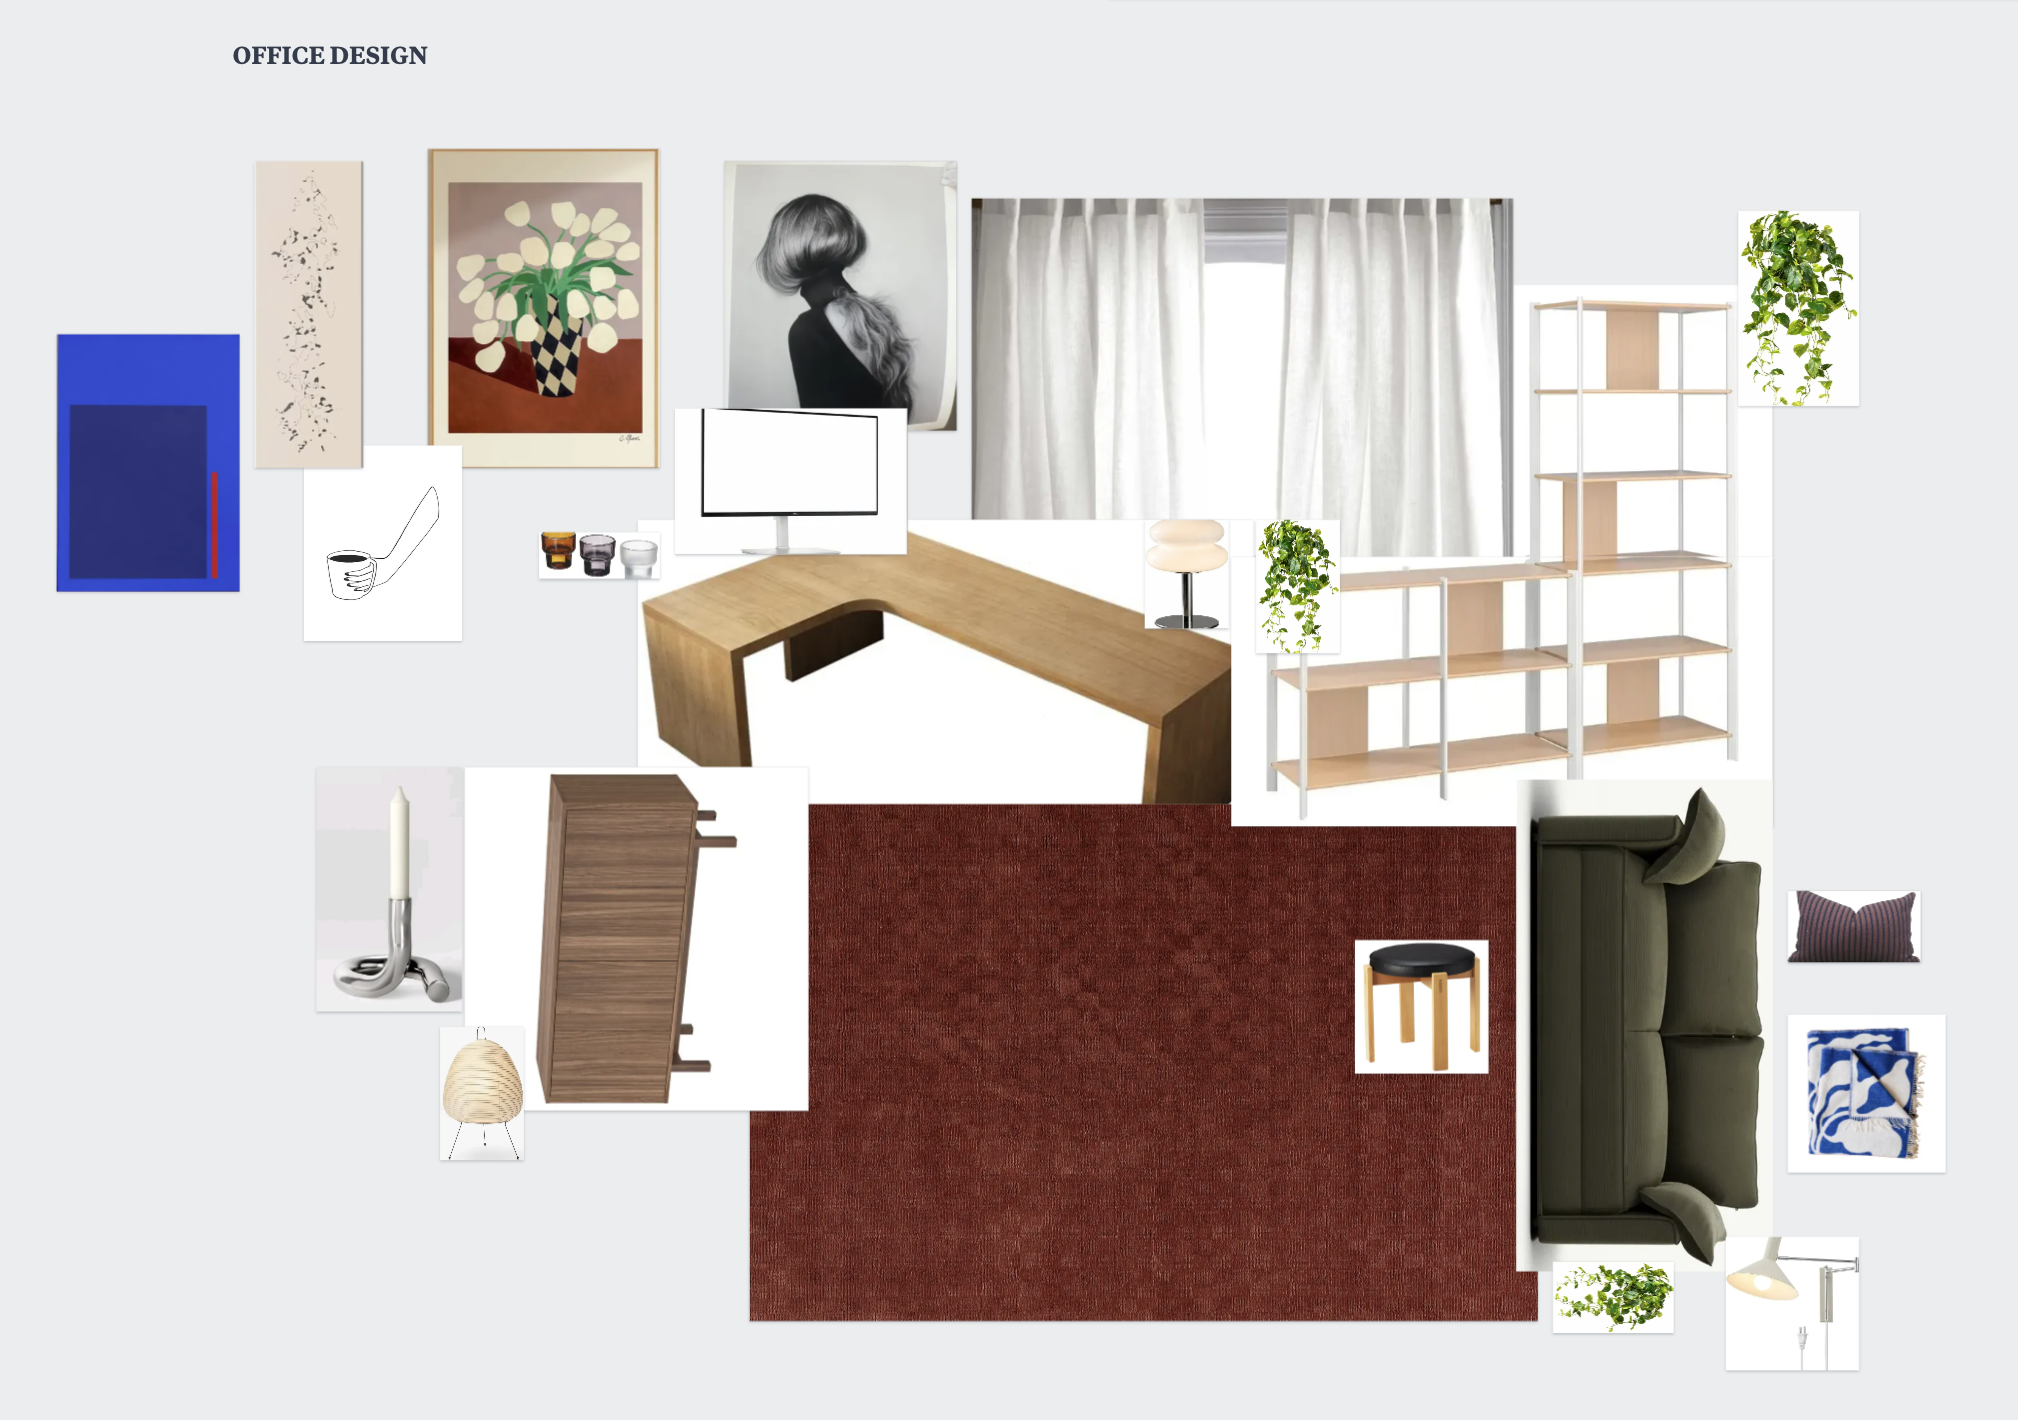
Step 2: Refine your vision.
Next, I took my collection of Pinterest inspiration and curated it down to a tighter set of images that actually made sense together. Then I dropped everything into Milanote, my favorite digital mood board tool.
Why Milanote? It lets me pair images with notes, color swatches, product links, and even rough layout mockups. It’s a dream for visual planners, and it helped me get out of “analysis paralysis” mode and into decision-making mode.
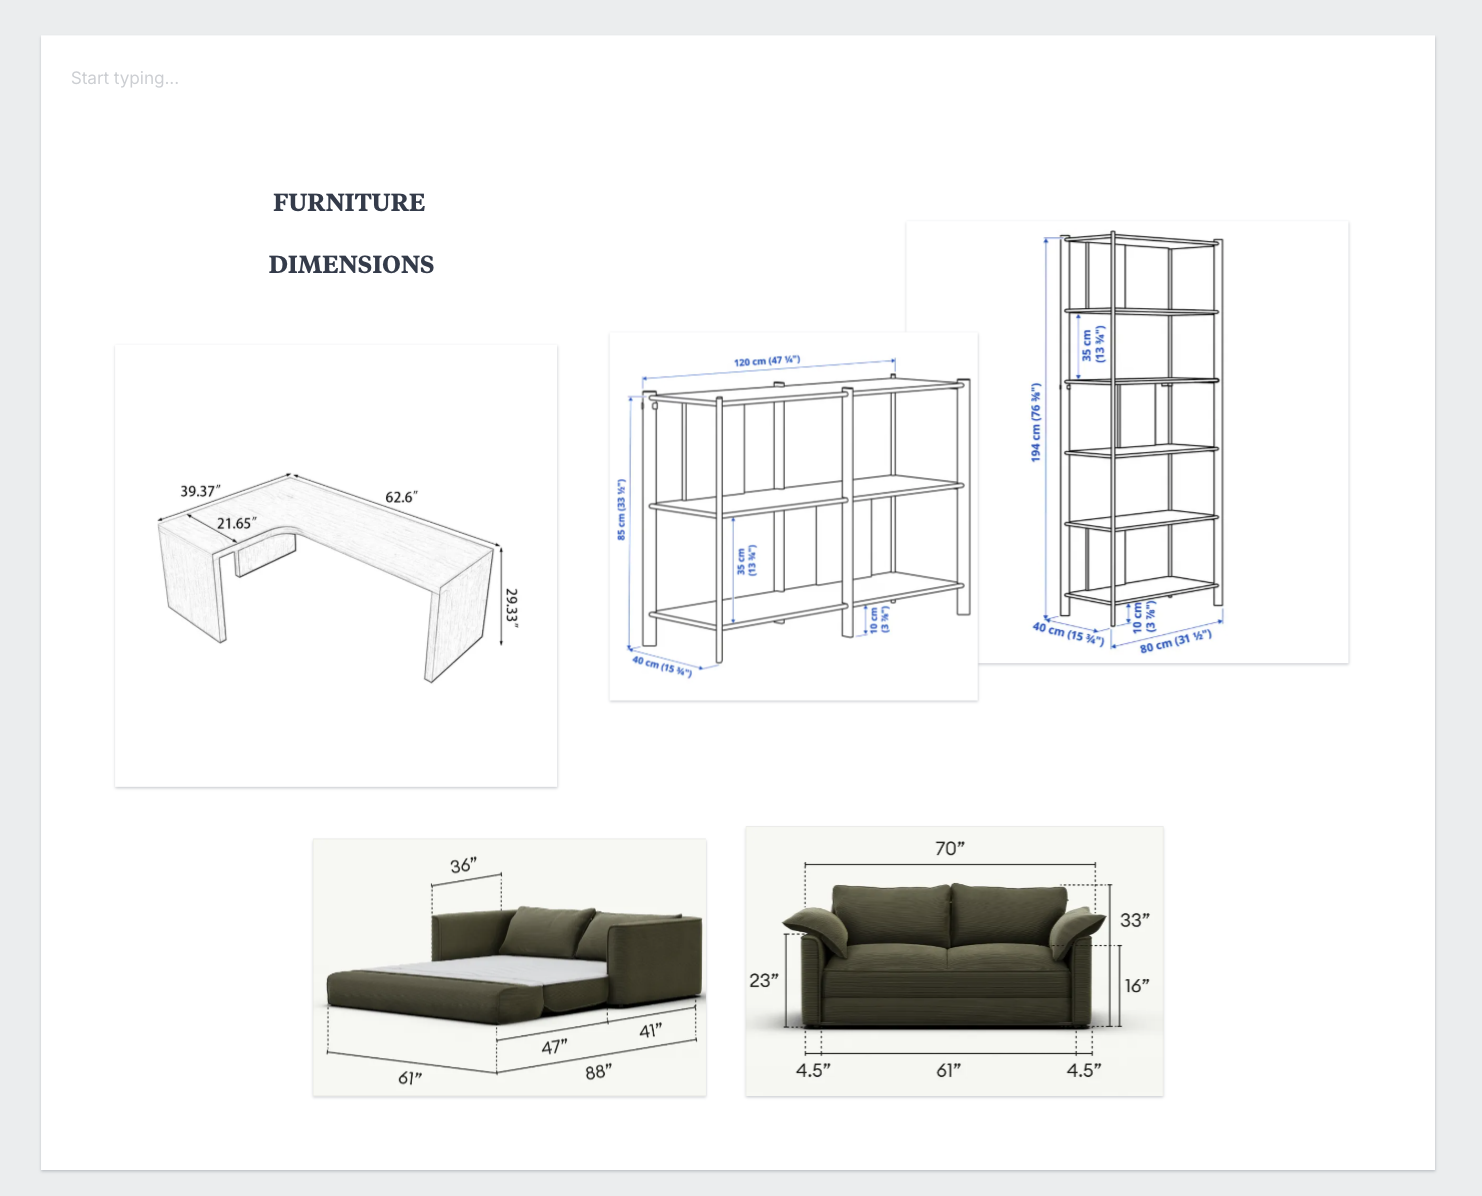
Step 3: Play with what you’ve got.
Once I had a clear vision, I tested layout ideas using furniture I already owned. For items I didn’t have yet, I used painter’s tape or tape measures to map out where they would go — like testing if a sleeper sofa would fit (turns out, there are way more size variations than I expected!).
This step is crucial. Things can look amazing online but feel totally wrong in person. Trust your body’s feedback — flow, comfort, ease of movement. It all matters.
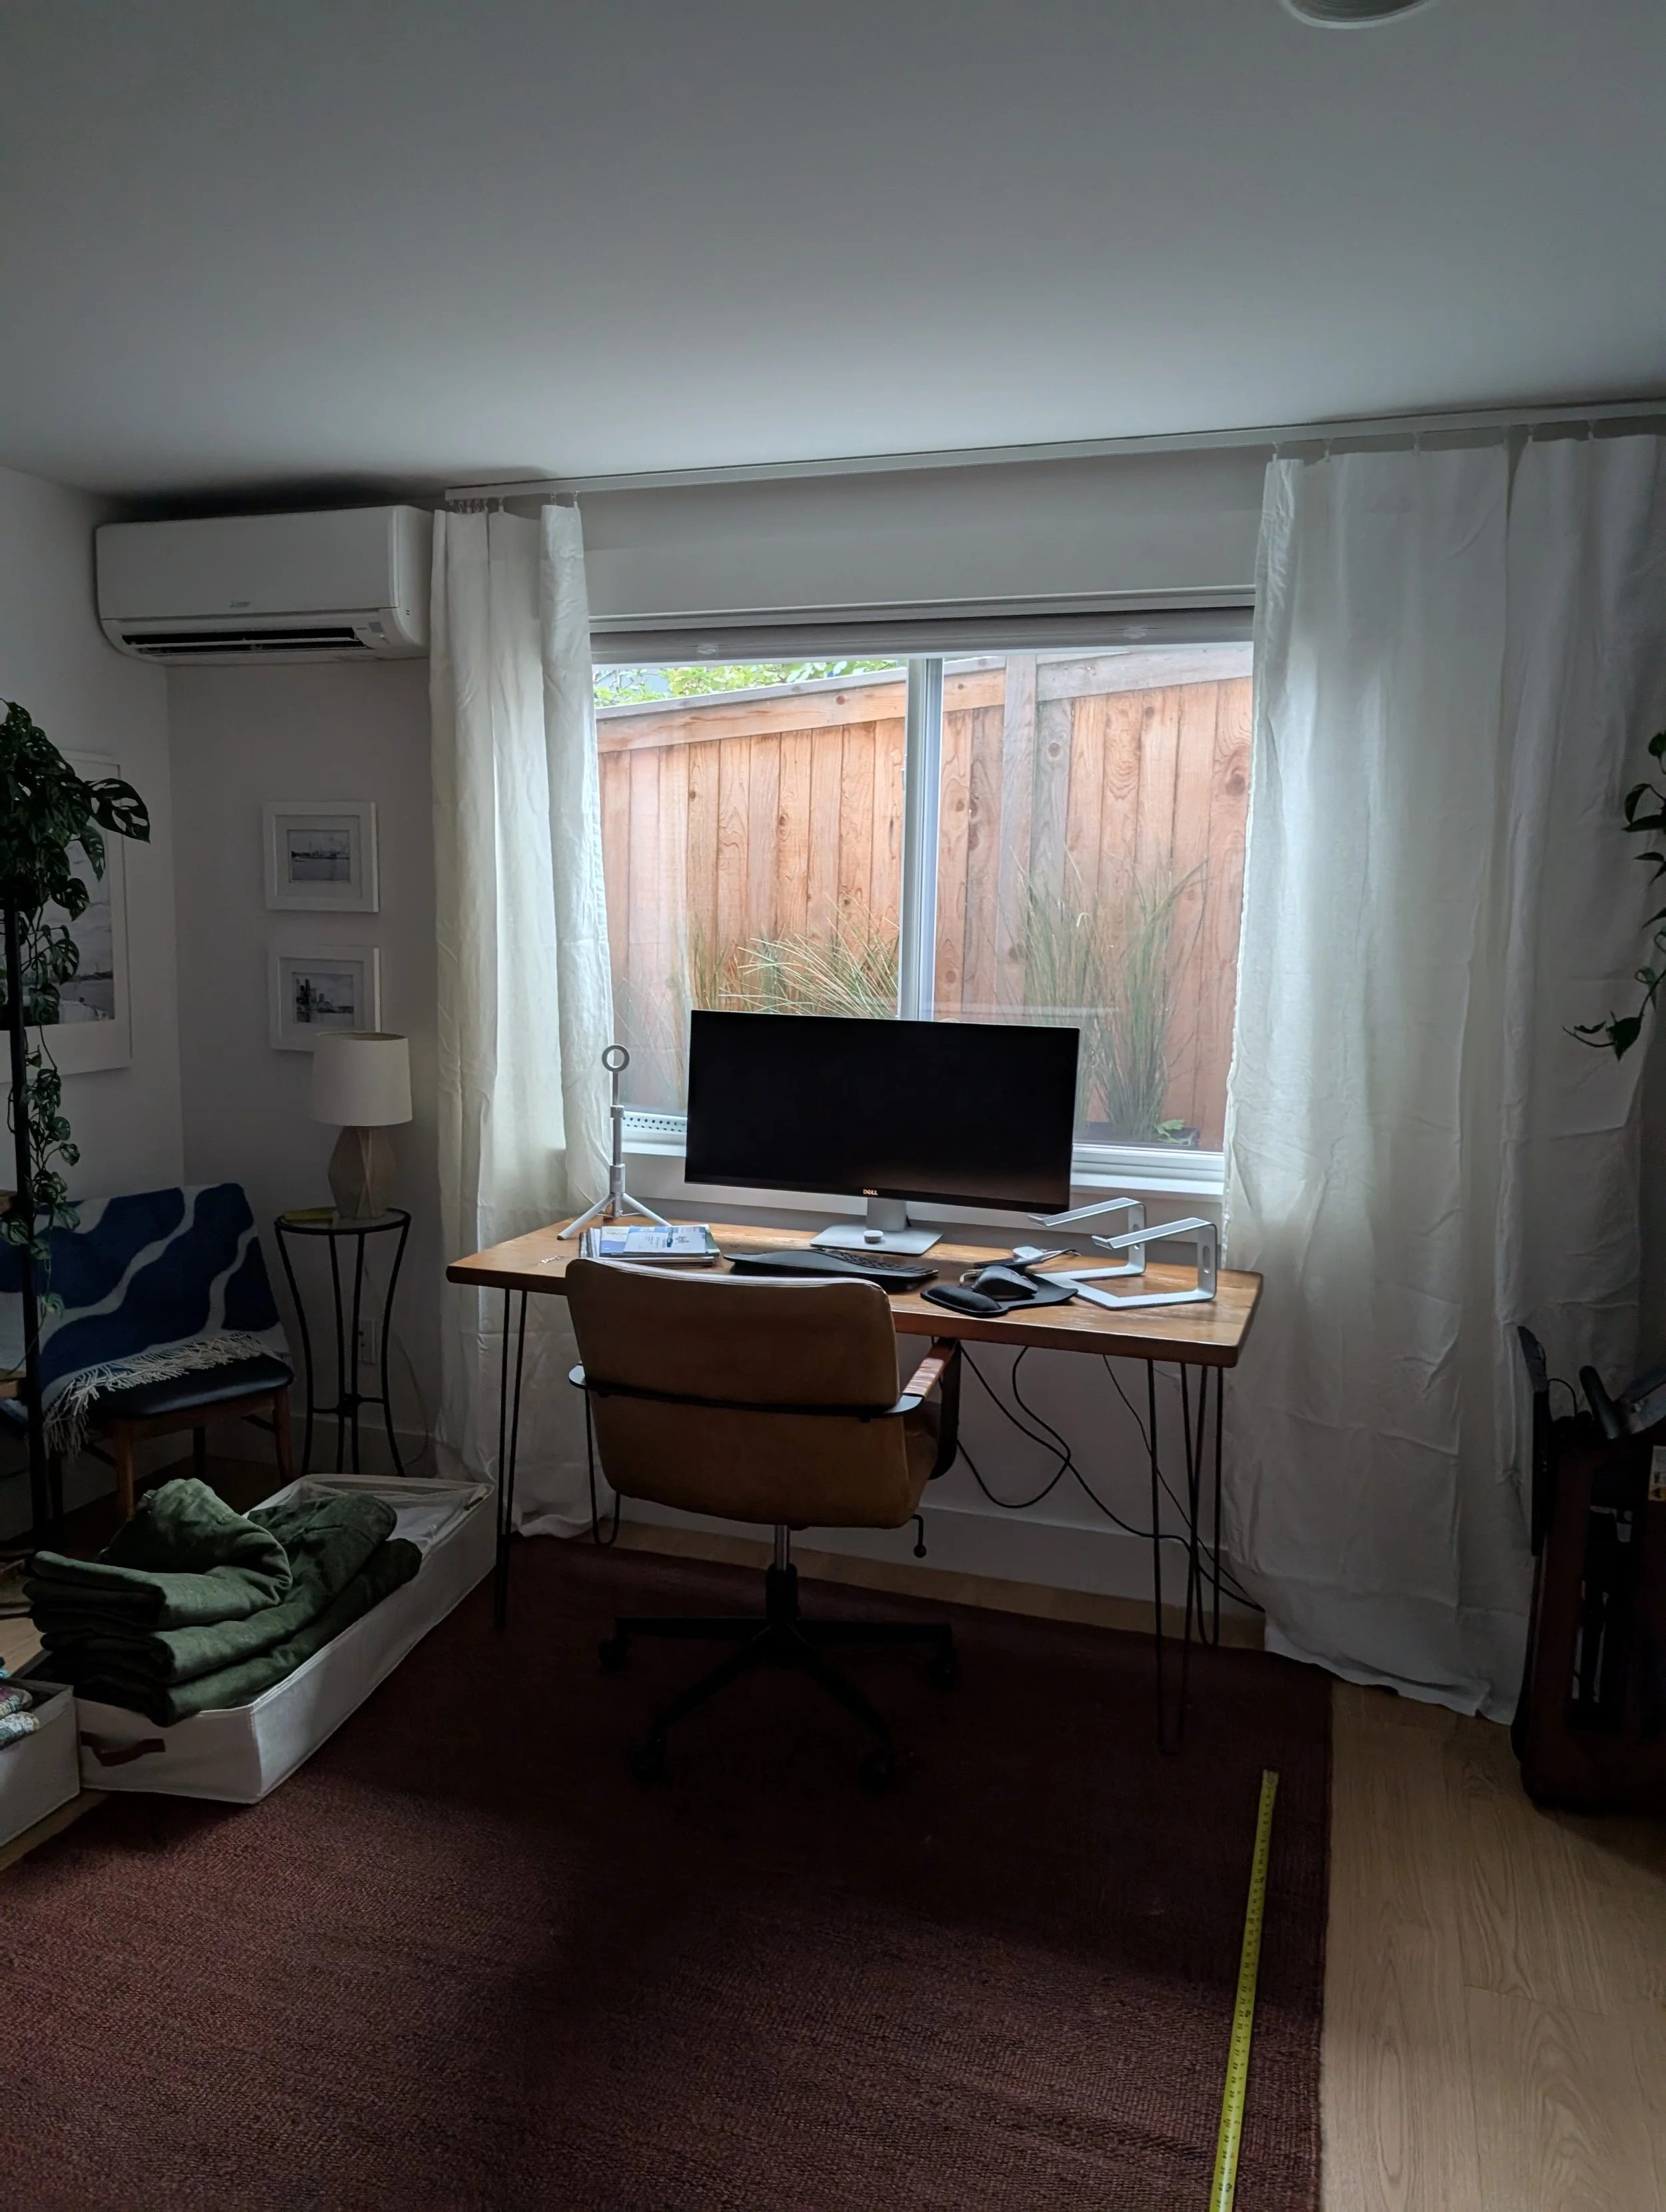
Testing if this older desk would work (it did not!) and a tape measure on the ground where a potential sofa bed would reach.
Final Thoughts: Design Is Part Art, Part Logistics
This design process helped me go from overwhelm to action without buying things I’d regret later. Whether you’re updating your home office in Seattle or organizing a guest room in Atlanta, these steps can work anywhere.
Planning first means you’re not just making a space look good — you’re making it work better too.
Next time, I’ll reveal the finished office (!!!) and share what worked, what flopped, and what I’d do differently.
Want more tips like this?
Sign up for my newsletter where I share real-life organizing projects, gentle mindset shifts, and tools I swear by.